This tutorial will discuss how to use FastSD webserver with ComfyUI. FastSDCPU is a faster version of a stable diffusion application running on a CPU, based on OpenVINO and Pytorch implementations.
Step 1: Download and Install FastSDCPU
In this demo, we are using a Windows 11 machine to test, first download FastSD CPU release. Extract the zip file and install it by following the steps :
- You need to install Python 3 and uv – fast package manager for python.
- Double click
install.bat(It will take some time to install, depending on your internet speed.) - After the installation close this command prompt window
- Double click the
start-webserver.batfile to start FastSD CPU in webserver mode

Step 2: Download and Install ComfyUI
Next, we will download ComfyUI from this official repo and extract the zip file.
Step 3: Install ComfyUI extensions
Enter into ComfyUI_windows_portable\ComfyUI\custom_nodes folder and clone the following extensions :
Run the following command to install extensions:
git clone https://github.com/pythongosssss/ComfyUI-Custom-Scripts.git
git clone https://github.com/BetaDoggo/ComfyUI-FastSDCPU
Step 4: Faster generation of images using OpenVINO
OpenVINO (Open Visual Inference and Neural Network Optimization) is an open-source toolkit for optimizing and deploying deep learning models on Intel hardware, including CPUs, GPUs, NPUs, VPUs, and FPGAs. FastSD uses OpenVINO to improve inference speeds on CPU and AIPCs.
Next, we can start comfyUI by double-clicking run_cpu.bat file.
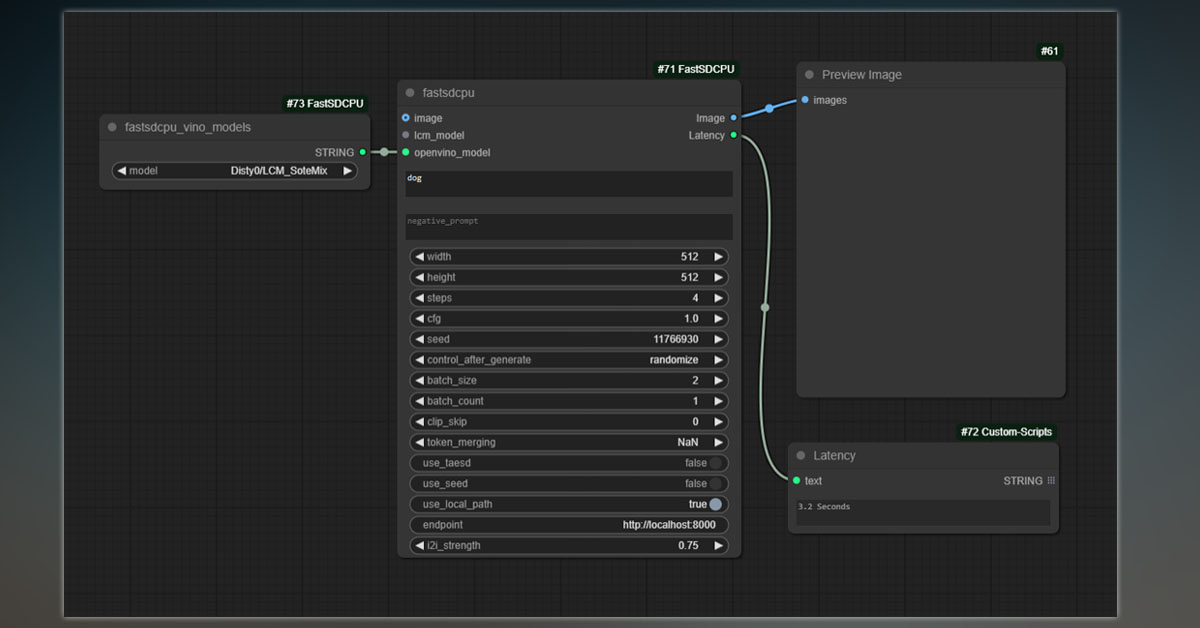
Open the FastSD ComfyUI extension page and drag and drop the first image to your ComfyUi running at http://127.0.0.1:8188/
Write a prompt, select the model rupeshs/sd-turbo-openvino , and run. (if you get a NAN error change token_merging value to 0)
