
Managing GitHub repositories is important. As a part of cleaning the old/unused repositories in the GitHub account, we might want to delete a repository in Github. In this article, we will discuss step by step guide to delete a repository in Github.
Follow the steps to delete a repository in GitHub.
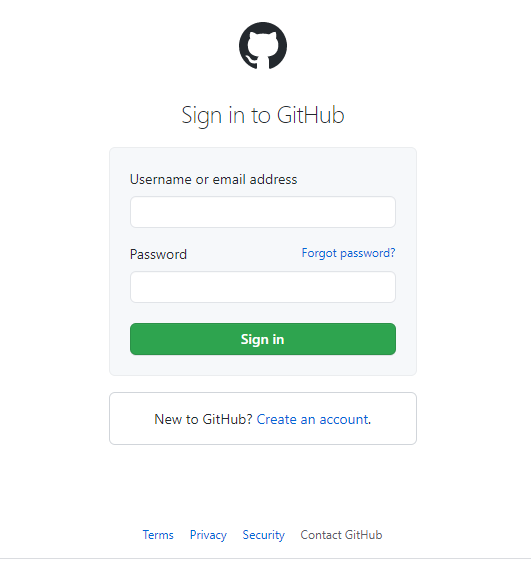
- Sign in to your GitHub account.
- Open respository settings.
- View danger zone settings and delete repository button
- Confirm the repository delete.
Let’s look at each step in detail.
Sign in to your GitHub account.
Open the GitHub login page and enter your login credentials, you will be redirected to your repositories page.
Open respository settings
After the sign-in, open the repository you want to delete, then click settings. For demo purposes, I created a test repository.

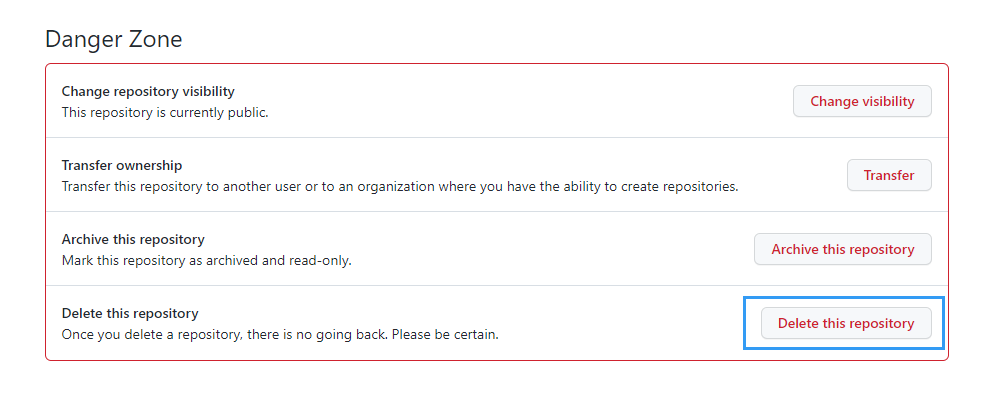
View danger zone settings and delete repository button
GitHub repository settings page has a section called danger zone, here we can delete, archive, change repository visibility, etc. Scroll down and at the bottom of the settings page, you can see the danger zone.
Under the danger zone, section click the delete this repository button.
Confirm the repository delete
A new window will popup, read all the warnings, and type the repository name you want to delete.
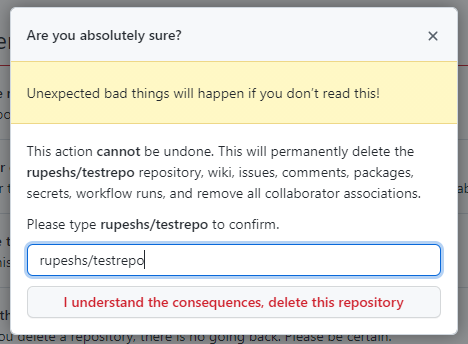
Finally, click I understand the consequences, delete this repository button, and delete the repository.
In conclusion, deleting a repository is easy with GitHub. If you want to know about the difference between git merge and rebase please read our article.