SDImageGenerator is a text-to-image generation artificial intelligence desktop app for Windows. The SDImageGenerator 2.0 of the app comes with the stable diffusion 1.5 model as the default model. This article will discuss how to use a custom stable diffusion model with SDImageGeneator.
SDImageGenerator 2.0 will support the models derived from stable diffusion 1.4 by CompVis, stable diffusion 1.5 model by runwayml. It also supports dreambooth .ckpt(checkpoint) model files.
Follow the steps to use custom models.
1. Download the Model
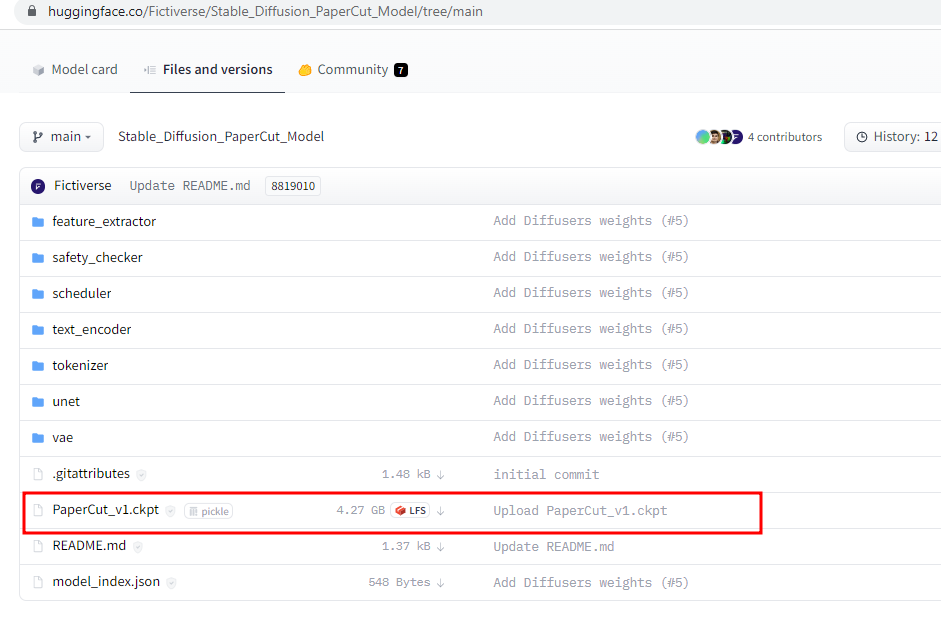
For this demo let’s use Stable Diffusion PaperCut model by Fictiverse. (You can use your own model too).
2. Copy the model to the models folder
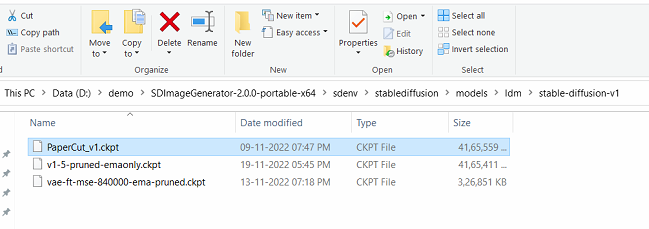
For the demo, SDImageGenerator is extracted in the path D:\demo\SDImageGenerator-2.0.0-portable-x64.
Now copy/move the downloaded papercut model file (PaperCut_v1.ckpt) to ..SDImageGenerator-2.0.0-portable-x64\sdenv\stablediffusion\models\ldm\stable-diffusion-v1 folder as shown below.
3. Update the model config file
Next, we need to update the model config file. Open the models.yaml (D:\demo\SDImageGenerator-2.0.0-portable-x64\sdenv\stablediffusion\configs\models.yaml) file in a text editor.
# This file describes the alternative machine learning models
# available to SDImageGenertor.
#
# To add a new model, follow the examples below. Each
# model requires a model config file, a weights file,
# and the width and height of the images it
# was trained on.

stable-diffusion-1.5:
  description: The newest Stable Diffusion version 1.5 weight file (4.27 GB)
  weights: ./models/ldm/stable-diffusion-v1/v1-5-pruned-emaonly.ckpt
  config: ./configs/stable-diffusion/v1-inference.yaml
  width: 512
  height: 512
  vae: ./models/ldm/stable-diffusion-v1/vae-ft-mse-840000-ema-pruned.ckpt
  default: true
stable-diffusion-1.4:
  description: Stable Diffusion inference model version 1.4
  config: configs/stable-diffusion/v1-inference.yaml
  weights: models/ldm/stable-diffusion-v1/sd-v1-4.ckpt
  vae: models/ldm/stable-diffusion-v1/vae-ft-mse-840000-ema-pruned.ckpt
  width: 512
  height: 512
inpainting-1.5:
  weights: models/ldm/stable-diffusion-v1/sd-v1-5-inpainting.ckpt
  config: configs/stable-diffusion/v1-inpainting-inference.yaml
  vae: models/ldm/stable-diffusion-v1/vae-ft-mse-840000-ema-pruned.ckpt
  description: RunwayML SD 1.5 model optimized for inpainting
Next, we need to add the configuration of the papercut model to the models.yaml file. Add the following configuration to the top of the file.
PaperCut_v1:
  description: Papercut model
  weights: ./models/ldm/stable-diffusion-v1/PaperCut_v1.ckpt
  config: ./configs/stable-diffusion/v1-inference.yaml
  width: 512
  height: 512
  vae: ./models/ldm/stable-diffusion-v1/vae-ft-mse-840000-ema-pruned.ckpt
Save the models.yaml file, now the updated file looks like it as shown below.
# This file describes the alternative machine learning models
# available to SDImageGenertor.
#
# To add a new model, follow the examples below. Each
# model requires a model config file, a weights file,
# and the width and height of the images it
# was trained on.
PaperCut_v1:
  description: Papercut model
  weights: ./models/ldm/stable-diffusion-v1/PaperCut_v1.ckpt
  config: ./configs/stable-diffusion/v1-inference.yaml
  width: 512
  height: 512
  vae: ./models/ldm/stable-diffusion-v1/vae-ft-mse-840000-ema-pruned.ckpt
stable-diffusion-1.5:
  description: The newest Stable Diffusion version 1.5 weight file (4.27 GB)
  weights: ./models/ldm/stable-diffusion-v1/v1-5-pruned-emaonly.ckpt
  config: ./configs/stable-diffusion/v1-inference.yaml
  width: 512
  height: 512
  vae: ./models/ldm/stable-diffusion-v1/vae-ft-mse-840000-ema-pruned.ckpt
  default: true
stable-diffusion-1.4:
  description: Stable Diffusion inference model version 1.4
  config: configs/stable-diffusion/v1-inference.yaml
  weights: models/ldm/stable-diffusion-v1/sd-v1-4.ckpt
  vae: models/ldm/stable-diffusion-v1/vae-ft-mse-840000-ema-pruned.ckpt
  width: 512
  height: 512
inpainting-1.5:
  weights: models/ldm/stable-diffusion-v1/sd-v1-5-inpainting.ckpt
  config: configs/stable-diffusion/v1-inpainting-inference.yaml
  vae: models/ldm/stable-diffusion-v1/vae-ft-mse-840000-ema-pruned.ckpt
  description: RunwayML SD 1.5 model optimized for inpainting
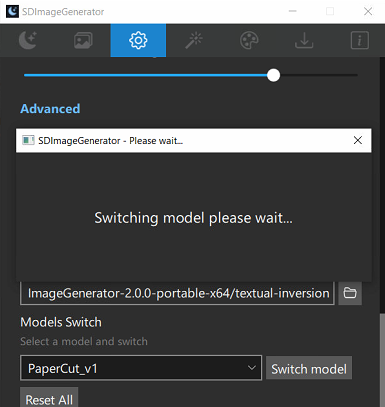
4. Start SDIG and switch the model
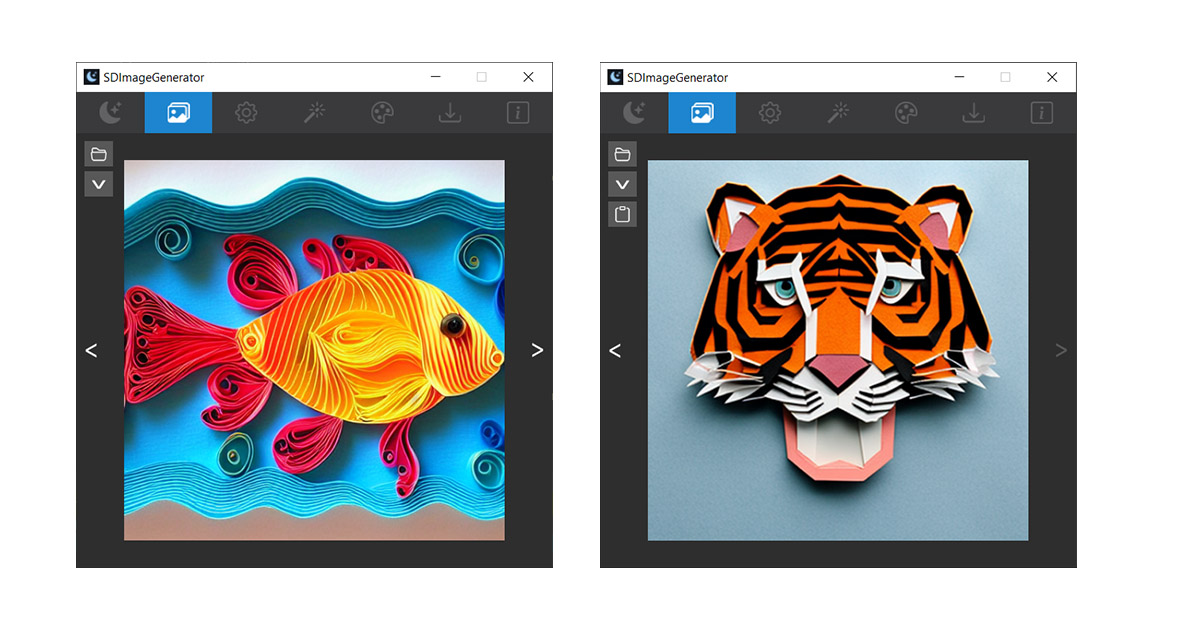
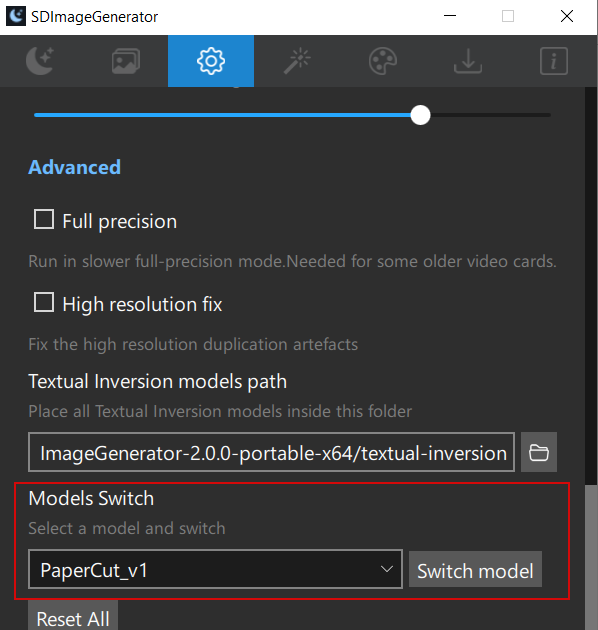
Finally, start the SDImageGenerator(SDIG) app. Press the dream button and wait for the model to load. Next, go to the settings tab and scroll down select the papercut model and press the “Switch Model” button.Wait for the model to switch.
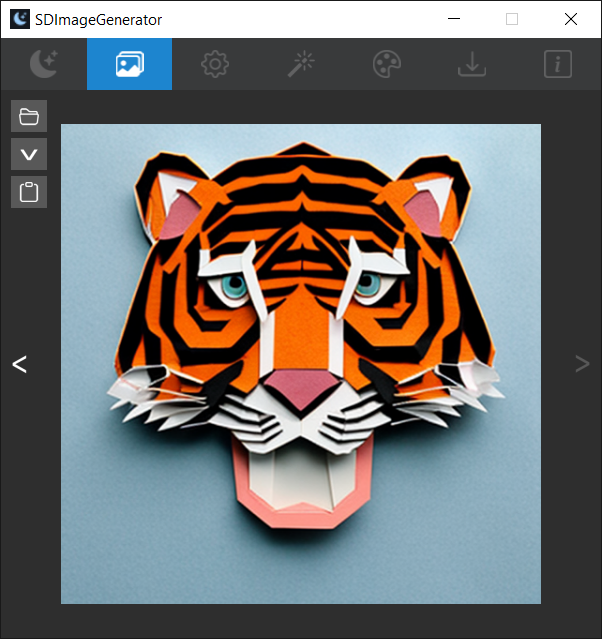
Prompt: A tiger face <papercut>
Conclusion
In conclusion, we can easily switch custom models by updating the model configuration and by using SDImageGenerator’s switch model feature.