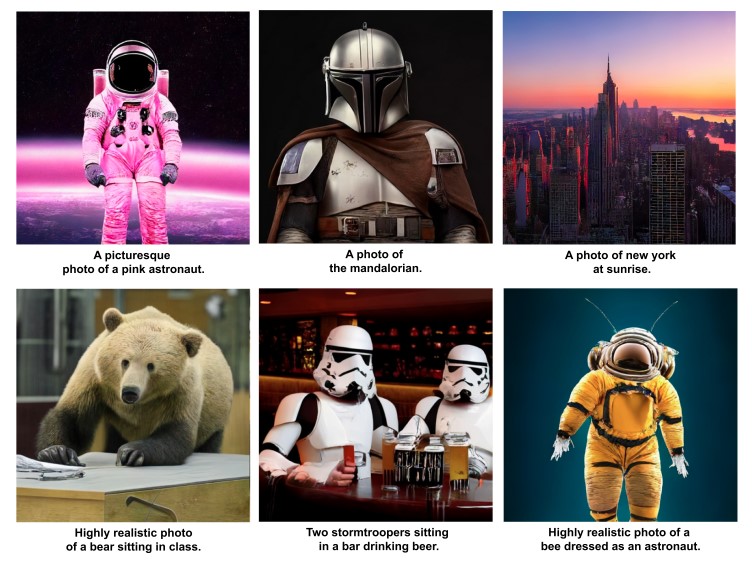
Würstchen is a new text-to-image generation fast diffusion model for high-resolution image generation. In this article, we will discuss how to run Würstchen Diffusion on Windows and Google Colab.
What is Würstchen Diffusion?
The Würstchen model is a diffusion model with a unique approach to compressing data within a latent image space. This compression is essential for reducing computational expenses during both training and inference, making it significantly more cost-effective compared to traditional methods. While most models achieve a 4x to 8x spatial compression, Würstchen goes beyond, achieving an extraordinary 42x spatial compression. This level of compression was previously unattainable because common methods struggled to faithfully reconstruct detailed images after a 16x spatial compression.
Wurstchen Diffusion has three stages :
- Stage C (Prior) – This stage maps text embeddings to compressed image embeddings. It is basically a text-conditioned diffusion model.
- Stage B – This stage is responsible for decoding highly compressed image embeddings from Stage C to 128×128 tokens. It is a Diffusion Autoencoder.
- Stage A – Stage A de-quantizes 128×128 tokens to high-resolution 1024×1024 images.
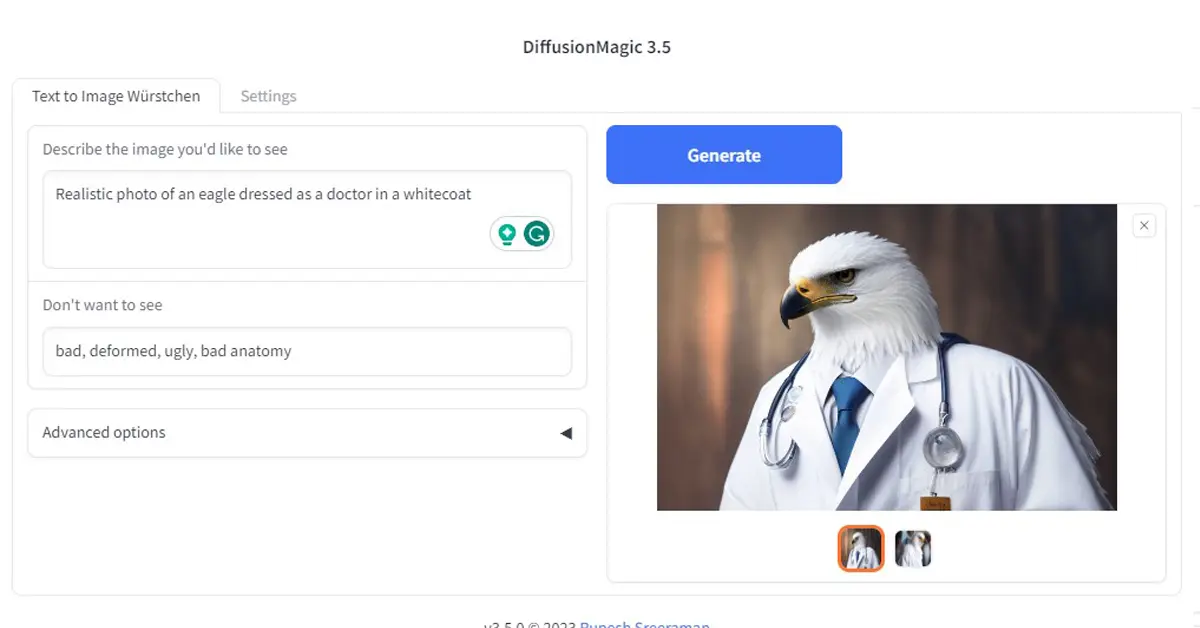
DiffusionMagic has support for Würstchen Diffusion.
Run Würstchen Diffusion on Google colab
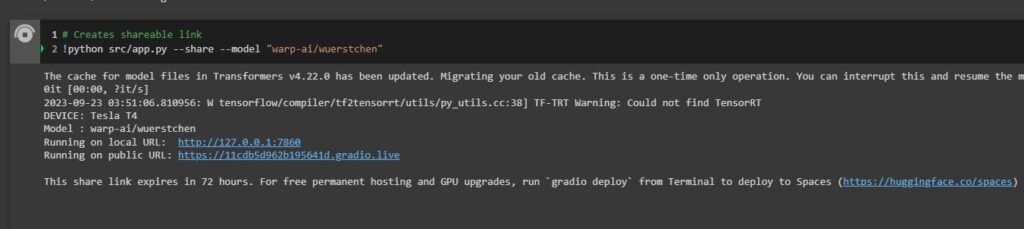
First, we need to go to the DiffusionMagic repository. Now click on the “open in colab” button as shown below.

Next, run each cell in the Google Colab. Finally, you will get a public URL as shown below click on it. Enter your text prompt and generate images. The first run will take some time because it needs to download Würstchen models.
How to run Würstchen diffusion on Windows
You can also run the Würstchen diffusion on Windows/Linux, but in this tutorial, we will discuss Windows installation.
First head over to the DiffusionMagic releases, no need to install Python. Download the latest release (v3.5.0). Follow the steps to install
- Double-click the install.bat file, it will take some time to set up the environment you need an active internet connection. After the installation, you can close the command prompt window.
- Now we can start using the start.bat, open the URL in the browser http:127.0.01:7860
- The default model of DiffusionMagic is stable diffusion XL, so open the settings tab, select the model as Würstchen save it close the window, and again double click the start now (model switching requires restart).
If you want to run it on the low VRAM (<4GB) follow this guide.
Conclusion
There you have it an easy way to run Würstchen diffusion on Google Colab and Windows. Even it works with low VRAM.