Text-to-image generation artificial intelligence is a trending topic in the AI community. This tutorial will teach you how to use a text-to-image generation AI desktop app for Windows.
We will use an easy-to-use SDImageGenerator (Stable Diffusion Image Generator /SDIG) software for Windows. Usually setting up text-to-image AI locally is a tedious task that requires some technical knowledge, but we can use SDImageGenerator easily.
SDImageGenerator is a free text-to-image generation AI desktop software for Windows written in Qt C++, and Python.
Key features of SDImageGenerator
- Extract and run, no complex installation steps
- Application logs
- Image Viewer
- Configurable image generation settings
- Seamless mode support(Generate game textures)
- Grid mode support
- Full precision support
- Upscaler support( Resize output image to 2x,4x using AI)
- Face restoration( Fix issues with the face using AI)
- Image-to-image generation
- Image variations support(Select one output image and generate variations)
- Weighted prompts support
- Works with NVIDIA GPU (minimum VRAM 4GB)
System Requirements:
Before installing we should check the following system requirements:
- Windows 10/11 64-bit
- Recent Nvidia GPU, preferably RTX ( 4 GB or more VRAM memory)
- 12 GB RAM system memory(16+ recommended)
- ~11 GB disk space after installation (on SSD for best performance)
If the system requirements are okay then move to the next step. However, please note that SDIG will not work with AMD GPUs.
Follow the steps to download and run text to image generator AI
First, we need to download the latest version of SDIMageGenerator. It is a 7zip zipped file, with a file size of around 1.7GB (SDImageGenerator-1.0.5-portable-x64.7z).
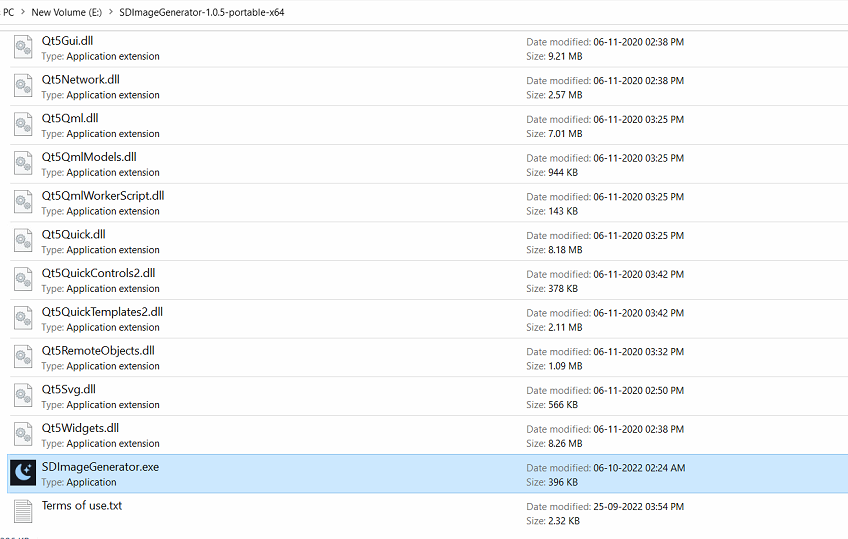
It is better to move the downloaded .7zfile to a nonsystem drive (e.g: other than a C drive) and extract the zipped file.
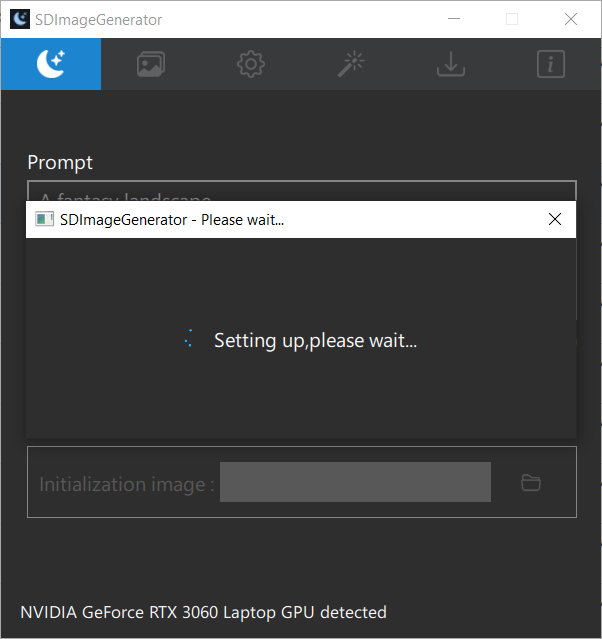
Double-click the SDImagegenrator.exe, and it will display the setting up screen.
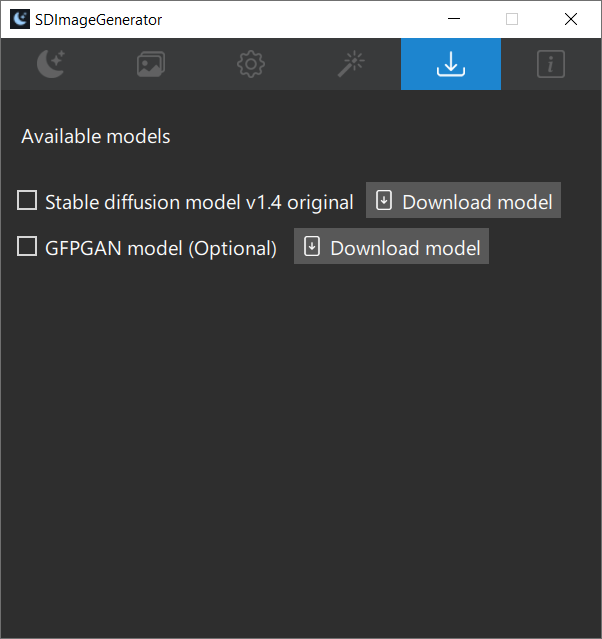
Next, we need to download stable diffusion model (4GB). Click the “download model” button.
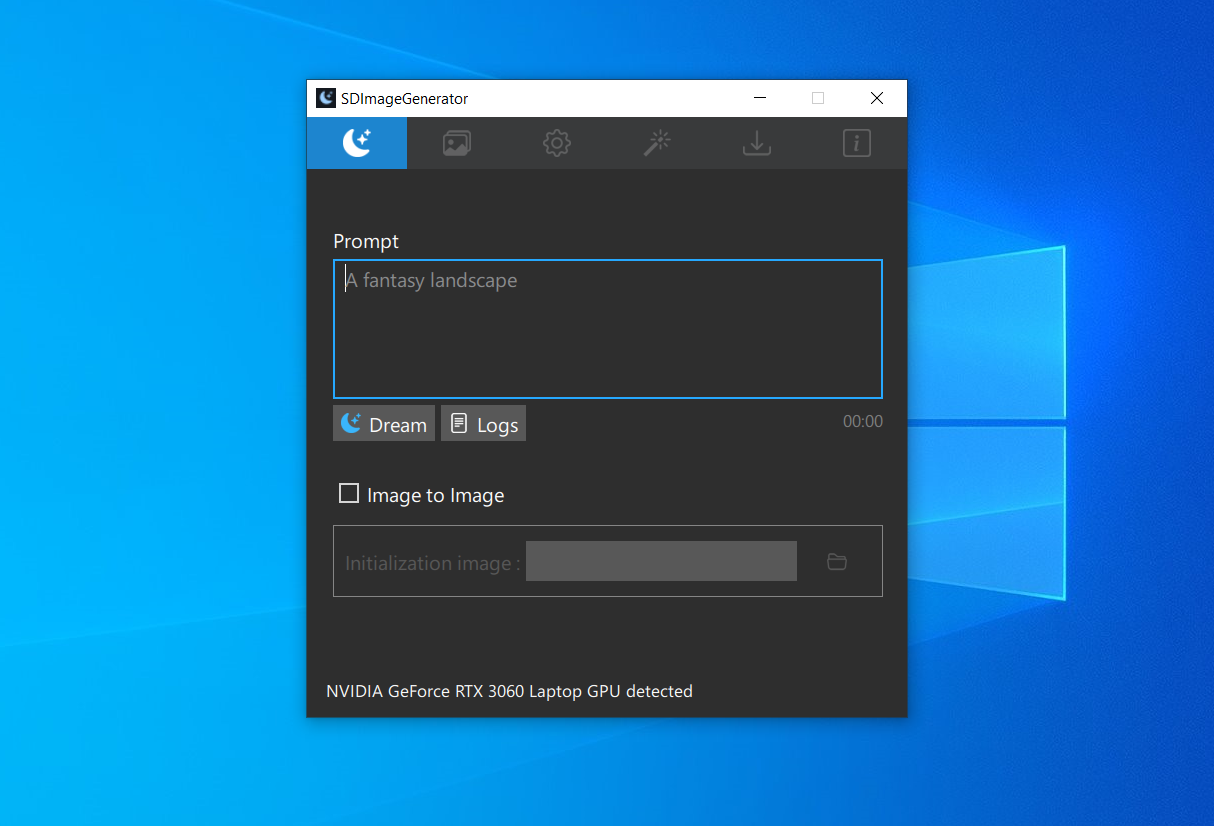
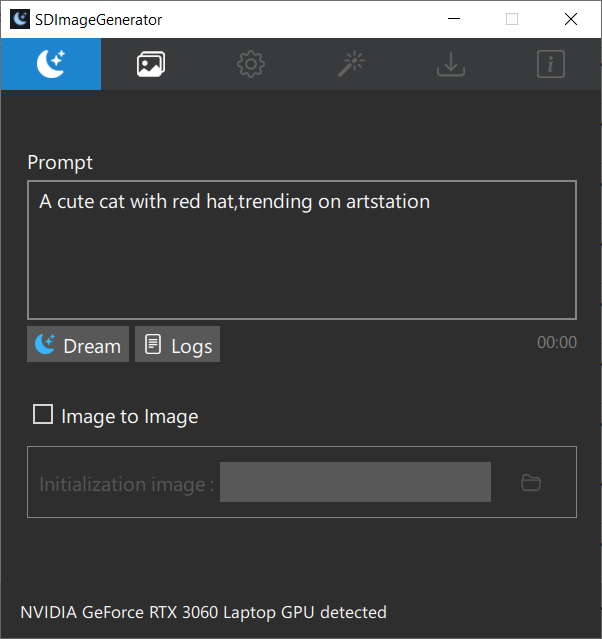
After downloading the model restart the app. Now SDIG is ready to generate images, enter a prompt text as shown below
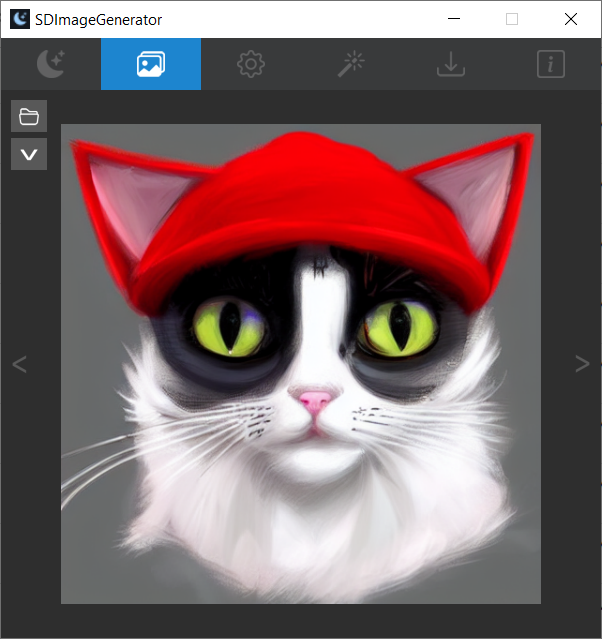
Finally, click the dream button to generate the image. Wait for the model to load and generate the image. It will take some time to load the model for the first time.
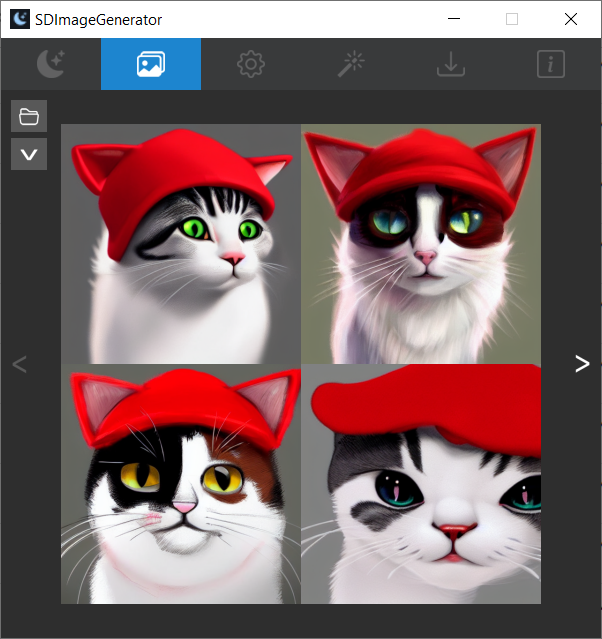
By clicking the V button we can generate variations of the output image. (Below output used following additional settings; grid mode enabled and number of images set to 4)
Now you can try different prompts and settings. There are endless possibilities.
The source code is available in the GitHub repository.
Conclusion
In conclusion, using the SDImageGenerator AI we can easily generate images from text.