FFmpeg is a cross-platform tool used to convert and stream media files. In this step-by-step guide, we will discuss how to install FFmpeg on Windows.FFmpeg is a powerful and versatile open-source command-line tool for manipulating multimedia files. It is widely used in the film and video industry, as well as by individuals, to perform a wide range of tasks such as converting between different file formats, compressing and decompressing video and audio, and even streaming live video and audio.
Follow these steps to install FFmpeg on Windows :
1. Download FFmpeg executable
The first step is to download the FFmpeg executable from the official download page.
You can download FFmpeg Windows binaries from here
There are different builds available git master builds and release builds. We will use release builds.
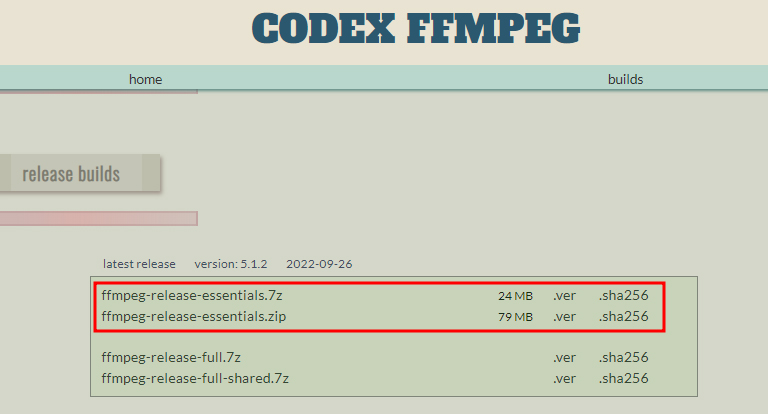
Download the FFmpeg-release-essentials build.
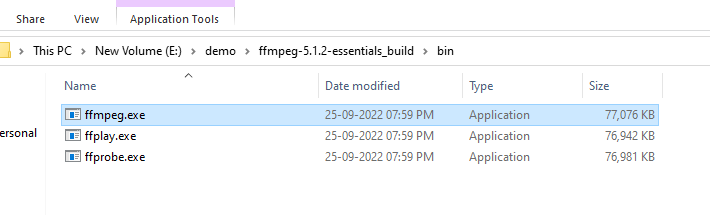
2. Extract and run
Next, we need to extract the zipped file. After the extraction we can see ffmpeg.exe inside the bin folder as shown below.
Two ways we can execute ffmpeg.exe.
- Run the ffmpeg.exe without adding it to the environment variable
- By adding it to the path environment variable
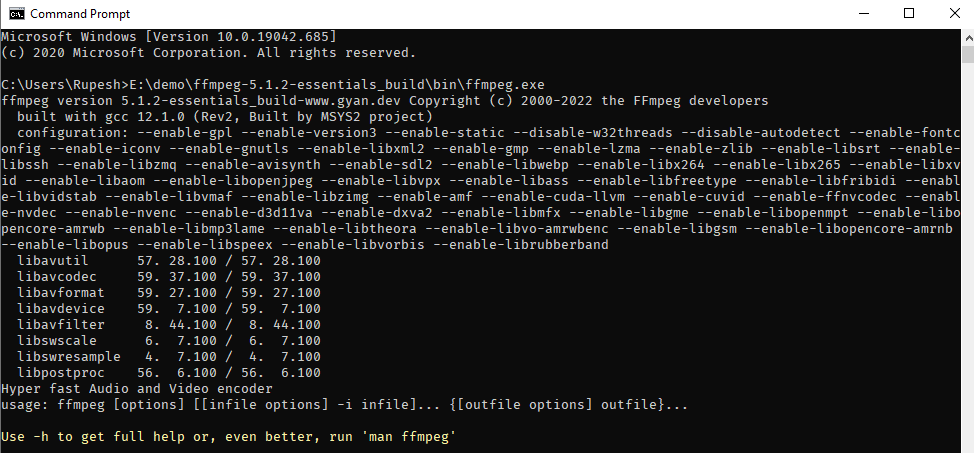
Running FFmpeg without adding it to the environment variable
Open the command prompt and type the full path of ffmpeg.exe and hit the enter key. In my case it is “E:\demo\ffmpeg-5.1.2-essentials_build\bin\ffmpeg.exe”
Adding FFmpeg to the path environment variable
This method allows us to use FFmpeg in the command prompt without giving the full path simply we have to type “ffmpeg” in the command prompt.
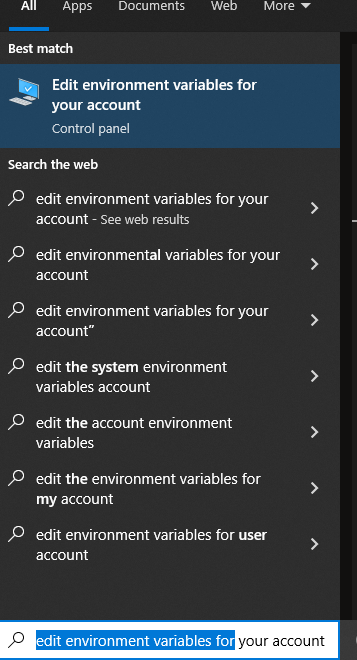
- In the Windows taskbar search, type edit environment variable.
- Next, double click path, in the next window click new add the full path to ffmpeg.exe as “E:\demo\ffmpeg-5.1.2-essentials_build\bin\”
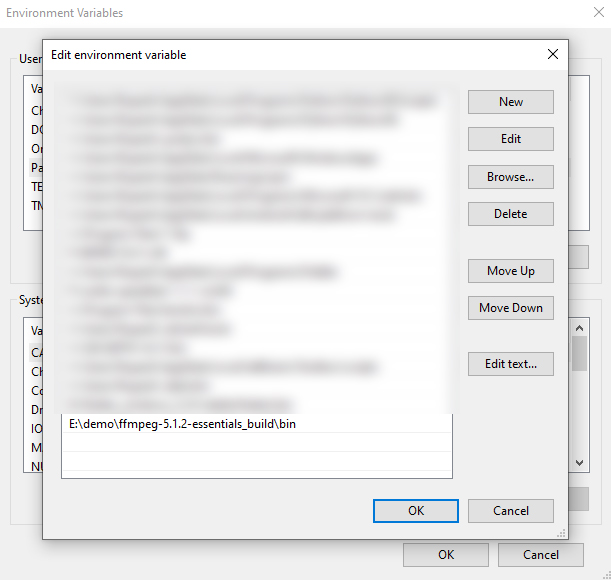
Click ok and save the changes, now open the command prompt, type “ffmpeg” and hit enter.
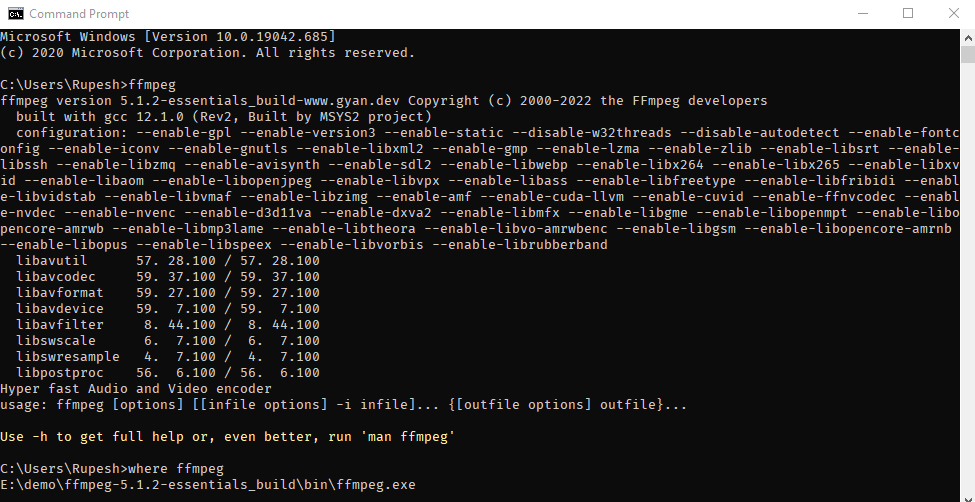
That’s all, we have successfully installed FFmpeg on Windows.