Image stacking refers to the process of combining multiple images into a single image. It helps to reduce noise and recover details. In this tutorial, we will learn how to stack Moon photos using Photoshop.
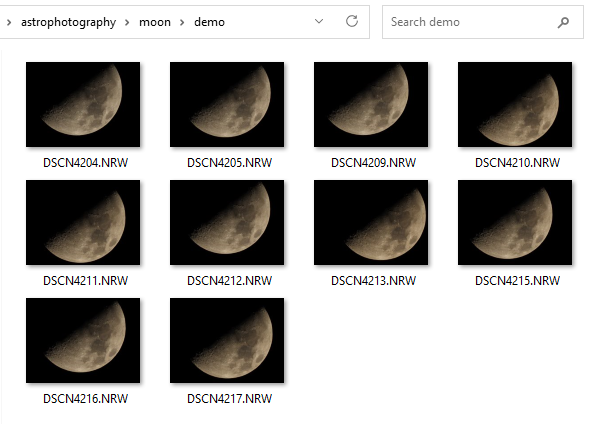
First, we need to shoot Moon photos using a camera. It is better to shoot in RAW photo mode. RAW photos are unprocessed image files captured by a camera’s sensor. They contain all the data captured by the sensor without any compression or adjustments. For this demo, we have 10 RAW photos of Moon shot using Nikon Coolpix P1000 camera.
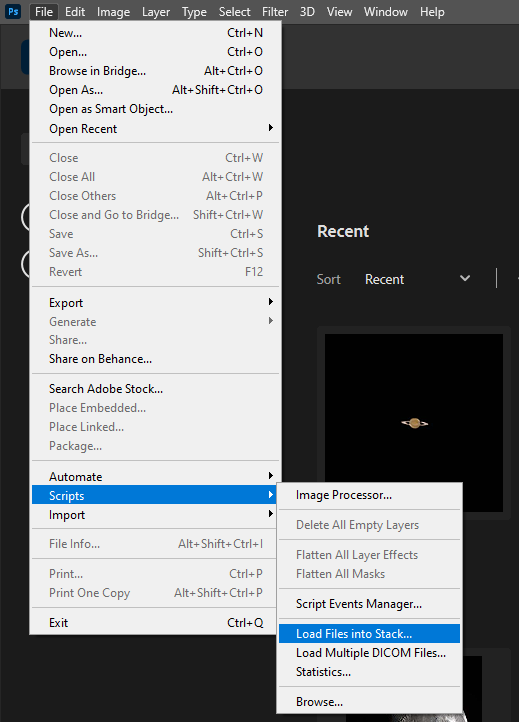
Next, we need to load images into layers so open Photoshop and click File -> Scripts -> Load Files into Stack.
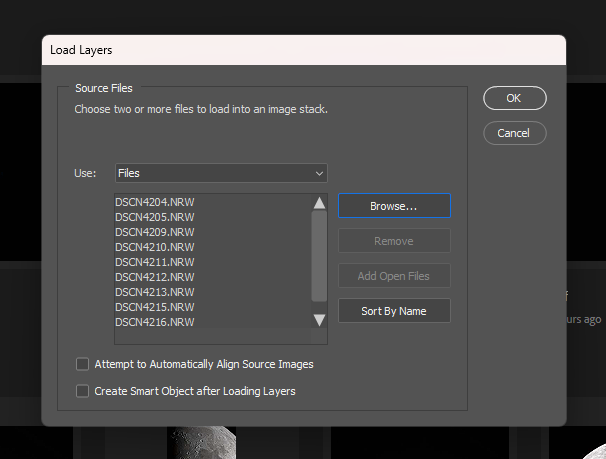
A “Load Layers” dialog will pop up and browse and select all the moon photos. See the below screenshot.
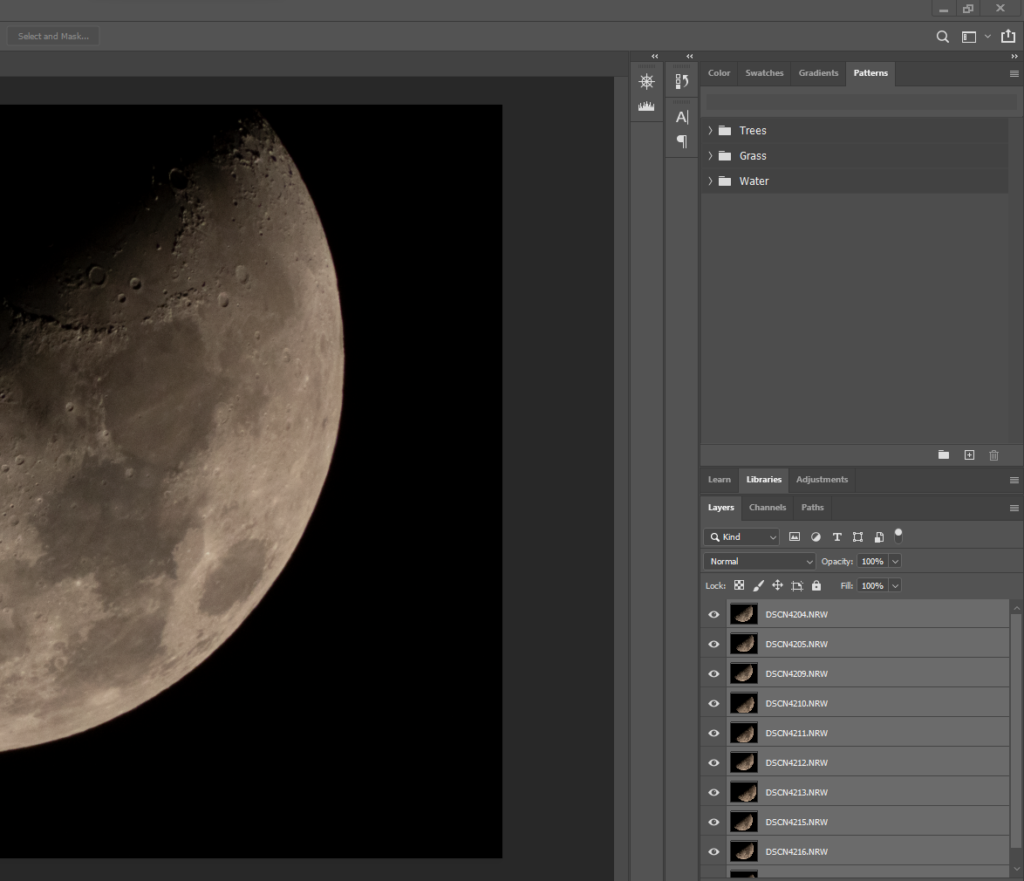
Click the OK button and it will load all the images into layers. Now select all the layers (Ctrl+Click) as shown below.
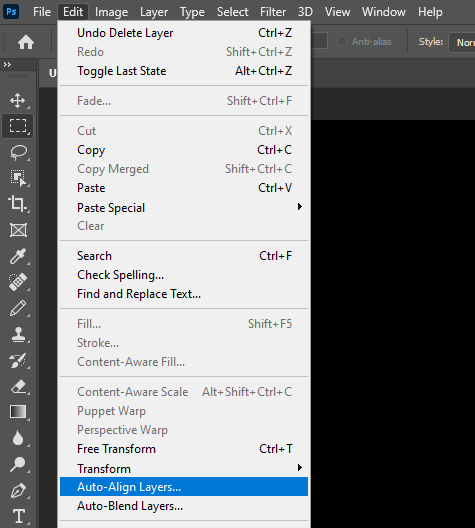
From the edit menu select “Auto-Align layers”.
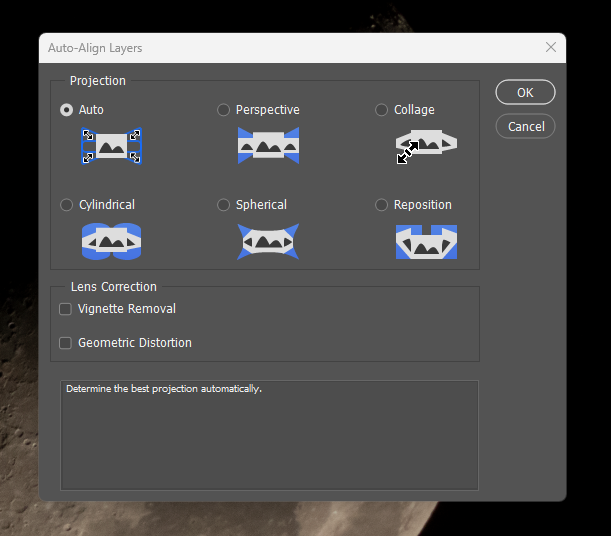
The “Auto-Align Layers” window will pop up and press the OK button to auto-align the layers. It will take some time to align the images. If alignment fails we need to manually align layers.
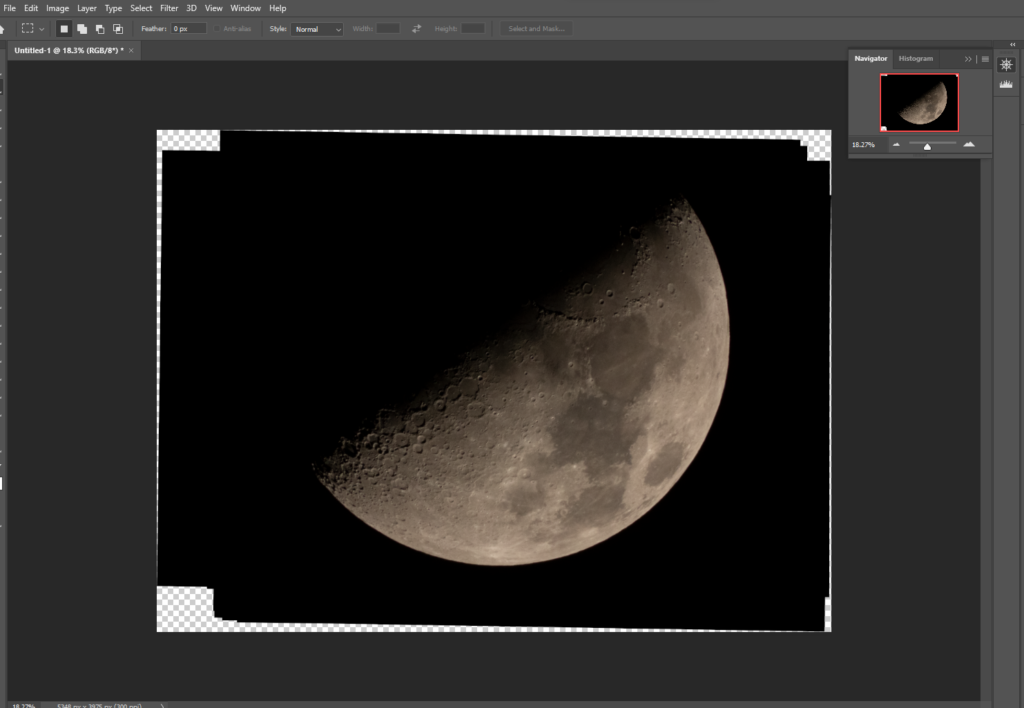
The aligned Moon photo is shown below.
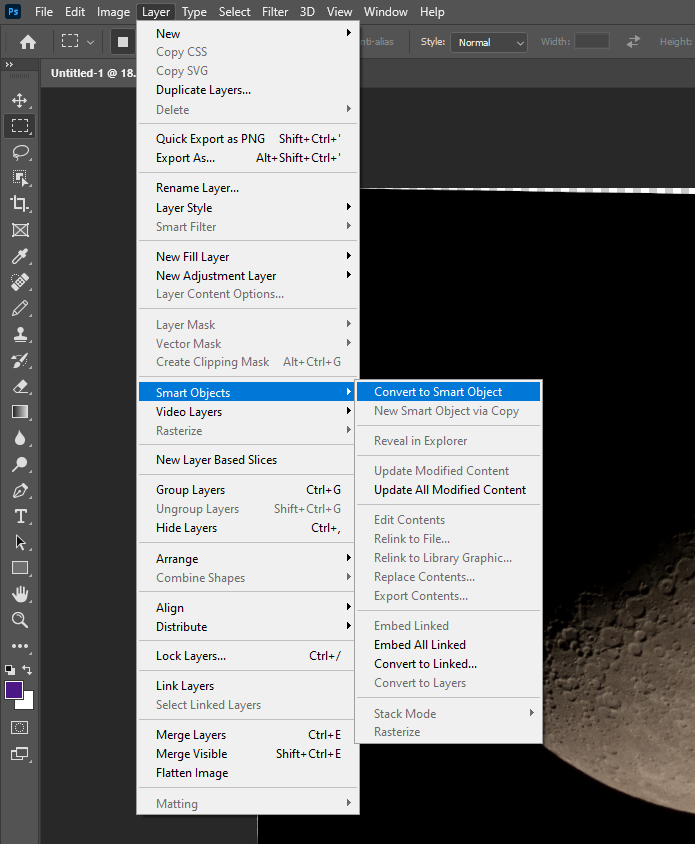
Next, we need to convert layers into smart objects. All layers selected, from the Layer menu Layer -> Smart Objects – > Convert to Smart Object.
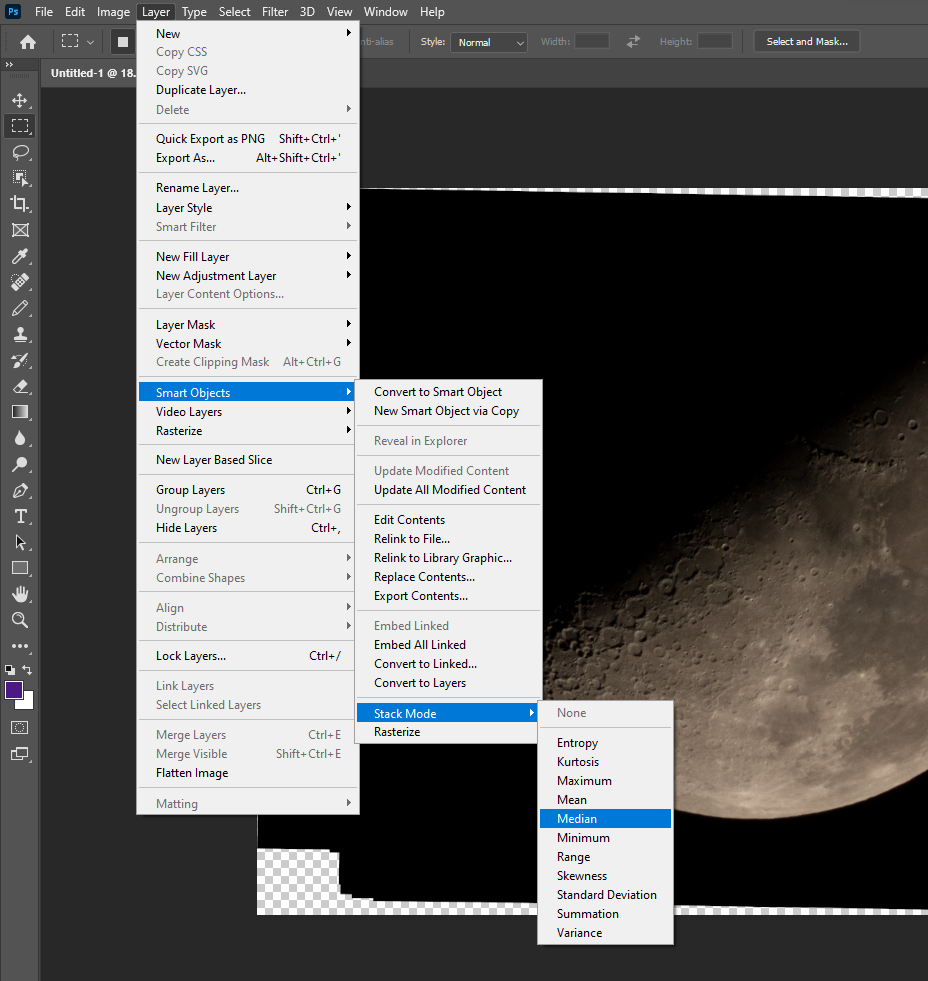
Now all layers merged into a smart object. Finally, we need to set the stacking mode, for that from the Layer menu Layer -> Smart Objects – >Stack Mode – Median
There you have it, the stacked photo of Moon. You can read my article “ELI5: This is How Image Stacking Reduces Noise and Recovers Signal“ at Petapixel.